
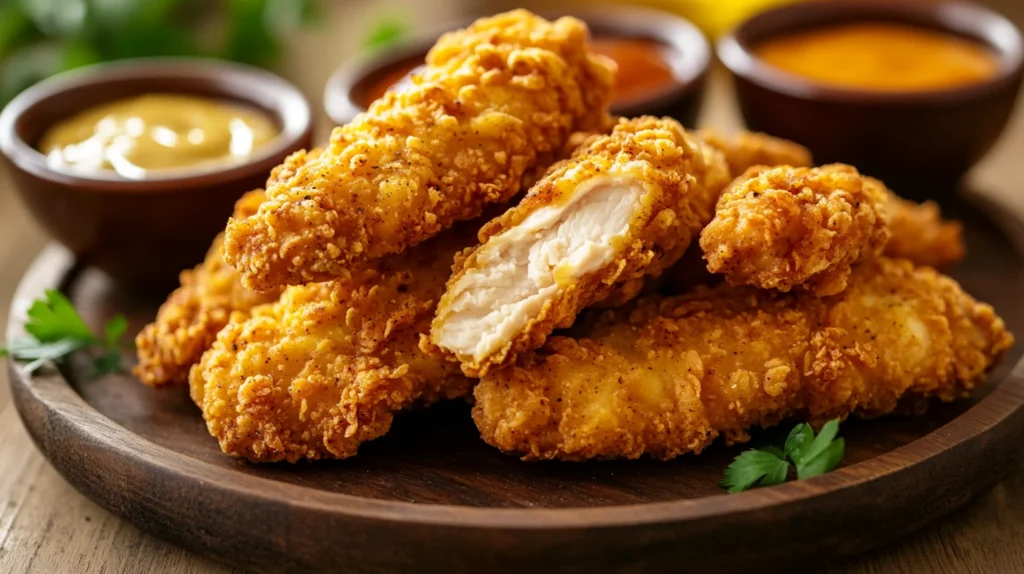
What Are Baked Chicken Tenders?
Baked chicken tenders are a healthier alternative to traditional fried chicken strips. They are made using lean chicken breast, coated in a crispy breadcrumb or panko crust, and baked in the oven until golden brown. These tenders are popular for their juicy interior and crunchy exterior, making them a favorite for both kids and adults.
Why Choose Baked Over Fried?
Many people love chicken tenders, but fried versions are often high in unhealthy fats and calories. Baking provides a lighter, more nutritious alternative without compromising on taste or texture. Here’s why baked chicken tenders are a great choice:
- Lower in fat: Baked tenders contain significantly less oil than fried ones.
- Fewer calories: A baked version has fewer calories per serving.
- Less mess: No deep-frying means an easier cleanup.
- Retains flavor: With the right seasoning and coating, they are just as delicious as fried tenders.
Nutritional Benefits of Baked Chicken Tenders
Baked chicken tenders offer a balance of protein and essential nutrients:
- Protein-rich: Chicken breast is an excellent source of lean protein.
- Low in carbohydrates: When using whole-wheat or almond flour breading, they fit into low-carb diets.
- Good source of vitamins: Chicken provides essential B vitamins, zinc, and iron.
Ingredients for the Best Baked Chicken Tenders
Choosing the Best Chicken
The key to juicy and tender baked chicken tenders starts with selecting the right cut of chicken. Here are the best options:
- Chicken Tenderloins: The most tender part of the chicken breast, naturally shaped for tenders.
- Chicken Breast: If tenderloins aren’t available, slice boneless, skinless chicken breasts into strips about 1-inch thick.
💡 Pro Tip: If using chicken breasts, pound them slightly to an even thickness for uniform cooking.
Essential Ingredients for Crispy Baked Chicken Strips
For the perfect crispy coating, you’ll need a combination of dry and wet ingredients:
- Flour Base:
- All-purpose flour (for a light, crisp coating)
- Whole wheat flour (for a healthier option)
- Almond flour (for low-carb/keto-friendly tenders)
- Egg Wash:
- 2 large eggs
- 2 tablespoons milk (dairy or plant-based)
- Purpose: Helps the breadcrumbs stick to the chicken.
- Breadcrumbs for Crunch:
- Panko breadcrumbs (light and extra crispy)
- Regular breadcrumbs (denser and more uniform)
- Crushed cornflakes (for a super crunchy texture)
- Optional Additions for Extra Crispiness:
- Parmesan cheese (adds a nutty, savory depth)
- Crushed nuts (almonds, pecans) (for a crunchy twist)
Best Spices for Homemade Chicken Tenders
A great seasoning blend elevates the taste of your chicken tenders. Here’s a simple yet flavorful mix:
- Salt & black pepper – Enhances the overall taste.
- Garlic powder & onion powder – Adds depth of flavor.
- Paprika – Gives a mild smoky flavor and beautiful color.
- Cayenne pepper (optional) – For a slight kick of heat.
- Italian seasoning – If you want a herby twist.
💡 Pro Tip: Mix the spices directly into the breadcrumbs for even distribution of flavor.
How to Make Baked Chicken Tenders – Step-by-Step Guide
1. How to Prepare Chicken Tenderloins for Baking
- Step 1: Preheat your oven to 400°F (200°C) and line a baking sheet with parchment paper or a wire rack.
- Step 2: If using chicken breasts, slice them into even strips (about 1-inch wide).
- Step 3: Pat the chicken dry with paper towels—this helps the coating stick better.
2. How to Properly Coat the Tenders
Follow this easy 3-step dredging process:
- Flour Coating: Lightly coat each chicken strip in flour. Shake off the excess.
- Egg Wash: Dip into the egg mixture, ensuring full coverage.
- Breadcrumb Coating: Press the tenders into the breadcrumb mixture, making sure they are evenly coated.
💡 Pro Tip: For ultra-crispy tenders, double-dip by repeating steps 2 and 3!
3. Baking Time and Temperature for Perfect Crispiness
- Oven Temperature: 400°F (200°C) – ideal for a crispy crust without drying out the chicken.
- Baking Time:
- Bake for 18-20 minutes (flipping halfway).
- Internal temperature should reach 165°F (75°C) for safe consumption.
💡 Pro Tip: Place the tenders on a wire rack over the baking sheet for even air circulation and extra crispiness!
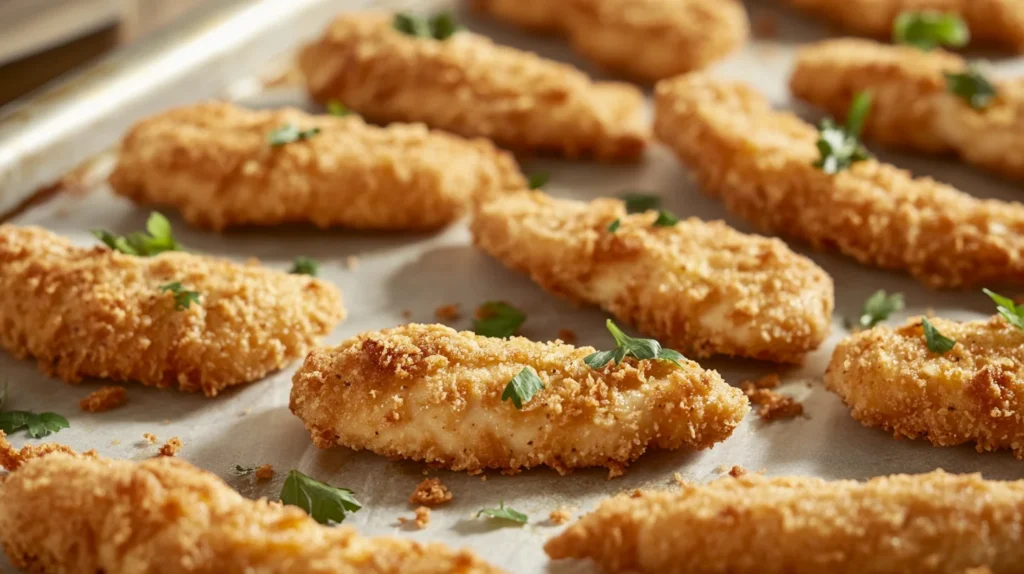
4. Tips for Achieving a Golden, Crunchy Texture
- Spray with cooking oil: Lightly spritz tenders with oil before baking for a golden crust.
- Use panko breadcrumbs: They crisp up better than regular breadcrumbs.
- Avoid overcrowding: Leave space between tenders so they bake evenly.
Serving and Dipping Sauces for Homemade Chicken Tenders
Classic Dips for Easy Baked Chicken Tenders
Dipping sauces enhance the flavor of baked chicken tenders, making them even more delicious. Here are some classic favorites:
- Honey Mustard – A sweet and tangy blend of honey, mustard, and mayonnaise.
- Ranch Dressing – Creamy and herby, a go-to for chicken lovers.
- Barbecue Sauce – Smoky, slightly sweet, and pairs perfectly with crispy tenders.
- Buffalo Sauce – Spicy with a buttery finish, great for those who love heat.
- Ketchup – A kid-friendly classic that never goes out of style.
💡 Pro Tip: Warm up your sauce before serving for a better dipping experience!
Healthy and Unique Sauce Options
If you’re looking for healthier or more creative dipping options, try these:
- Greek Yogurt Ranch – A lighter version of classic ranch with Greek yogurt instead of mayo.
- Avocado Lime Sauce – Blended avocado, lime juice, and garlic for a creamy, refreshing dip.
- Sriracha Mayo – A spicy, creamy sauce made from Sriracha and Greek yogurt or mayo.
- Garlic Aioli – A simple mix of mayo, garlic, and lemon juice for a gourmet touch.
💡 Pro Tip: You can also marinate your tenders in these sauces before breading for an extra punch of flavor!
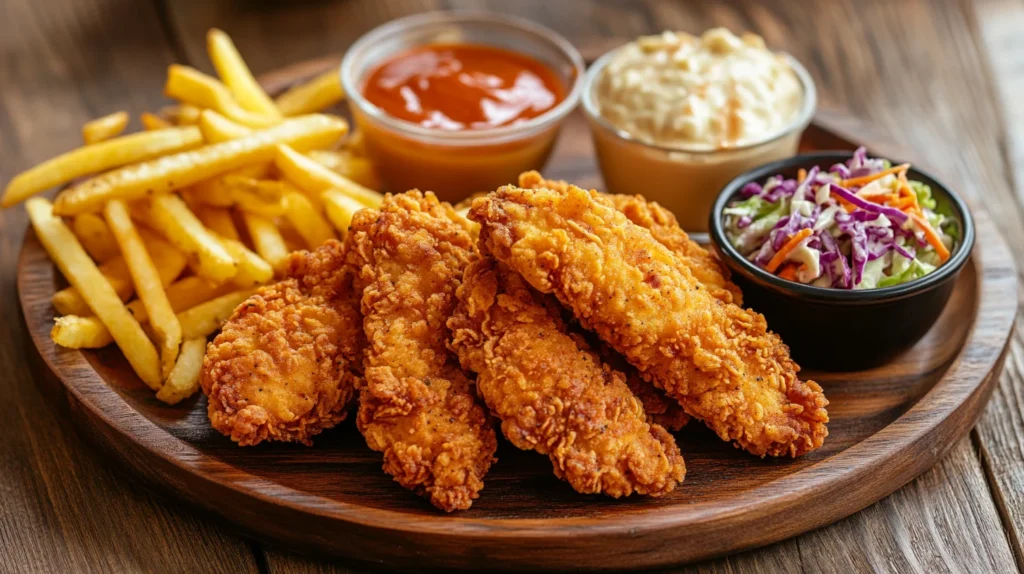
Best Side Dishes to Serve with Baked Chicken Tenders
Pairing your chicken tenders with the right side dish makes for a balanced and satisfying meal.
- Healthy Sides:
- Roasted sweet potatoes
- Steamed broccoli
- Mixed green salad with a light vinaigrette
- Classic Comfort Sides:
- Mac and cheese
- Mashed potatoes with gravy
- Buttery cornbread
- Low-Carb/Keto-Friendly Options:
- Cauliflower mash
- Zucchini fries
- Cucumber and tomato salad
💡 Pro Tip: For a restaurant-style experience, serve tenders in a basket with parchment paper and a side of dipping sauce!
Healthier Alternatives and Dietary Modifications
Baked chicken tenders are already a healthier alternative to deep-fried versions, but you can make them even better by adjusting ingredients to fit various dietary needs.
Gluten-Free Breading Options
If you’re avoiding gluten, you can replace traditional breadcrumbs and flour with these alternatives:
- Almond Flour: Adds a nutty flavor and works well for a low-carb option.
- Crushed Rice Cereal: Provides a light, crispy texture similar to panko.
- Cornmeal: Gives a slightly crunchy, Southern-style coating.
- Gluten-Free Panko or Breadcrumbs: Available in most grocery stores.
💡 Pro Tip: Always double-check seasonings and condiments to ensure they’re gluten-free.
Low-Carb or Keto-Friendly Versions
For those on a low-carb or keto diet, traditional breading options won’t work. Here’s what you can use instead:
- Pork Rind Crumbs: Crushed pork rinds create an ultra-crispy, carb-free coating.
- Parmesan Cheese: Mix grated Parmesan with almond flour for a rich, flavorful crust.
- Coconut Flour: Light and slightly sweet, a great alternative for a unique taste.
💡 Pro Tip: Pair keto-friendly tenders with a low-carb dip like homemade ranch or spicy mayo!
Using an Air Fryer for Extra Crispiness
If you want an even crispier texture without using too much oil, an air fryer is a fantastic option.
Air Fryer Instructions:
- Preheat the air fryer to 375°F (190°C).
- Arrange the coated chicken tenders in a single layer in the basket.
- Lightly spray with oil for extra crispiness.
- Cook for 10-12 minutes.
- Check for doneness: Internal temperature should be 165°F (75°C).
💡 Pro Tip: Avoid overcrowding the air fryer basket—cook in batches for the best results!
Dairy-Free Modifications
If you’re avoiding dairy, make these simple swaps:
- Replace milk in the egg wash with almond milk, coconut milk, or oat milk.
- Skip Parmesan cheese or use nutritional yeast for a cheesy flavor without dairy.
For an even crispier result, consider using an air fryer. If that interests you, check out this air fryer chicken tenders recipe!
Try a chicken Caesar salad for a balanced meal. And check out crispy baked chicken wings for another tasty recipe!
FAQs About Baked Chicken Tenders
How long should you bake chicken tenders at 400 degrees?
Baking chicken tenders at 400°F (200°C) takes about 18-20 minutes. For extra crispiness, flip them halfway through. Always check for an internal temperature of 165°F (75°C) to ensure they are fully cooked.
Is it better to bake chicken at 350 or 400?
Baking at 400°F is better for a crispier texture, while 350°F results in a more tender but less crispy outcome. If you prefer juicy chicken with a softer crust, bake at 350°F for a longer time (25-30 minutes). For crispy tenders, go with 400°F for 18-20 minutes.
How long to cook chicken tenderloins in the oven on 350?
At 350°F (175°C), chicken tenderloins should bake for 25-30 minutes, depending on their thickness. Always check that the internal temperature reaches 165°F (75°C) before serving.
How to cook chicken tenderloins in the oven?
- Preheat oven to 375°F (190°C) (or adjust based on crispiness preference).
- Season the tenderloins with salt, pepper, and desired spices.
- Optional: Coat them in breadcrumbs or a light flour mixture for extra texture.
- Arrange them on a baking sheet lined with parchment paper.
- Bake for 18-20 minutes at 400°F or 25-30 minutes at 350°F, flipping halfway.
- Check internal temperature (165°F) before serving.
Conclusion
Baked chicken tenders are a delicious, healthier alternative to fried versions, offering the same crispy texture without excessive oil. Whether you prefer classic breadcrumbs, keto-friendly coatings, or gluten-free options, there are endless ways to customize them to fit your dietary needs. Serve them with your favorite dipping sauces and sides for a well-rounded meal that the whole family will love.
Baked Chicken Tenders – Crispy, Healthy & Easy Recipe
Equipment
- Baking sheet
- Parchment paper or wire rack
- Three shallow bowls (for dredging)
- Tongs (for easy coating)
- Cooking spray or oil spritzer
- Meat thermometer (optional)
Ingredients
- For the Chicken:
- 1.5 lbs chicken tenderloins or boneless, skinless chicken breasts cut into strips
- 1 cup all-purpose flour or whole wheat flour
- 2 large eggs
- 2 tbsp milk dairy or plant-based
- 1 ½ cups panko breadcrumbs for extra crispiness
- ½ cup regular breadcrumbs
- ½ cup Parmesan cheese optional, for added flavor
- Seasonings:
- 1 tsp salt
- ½ tsp black pepper
- 1 tsp garlic powder
- 1 tsp onion powder
- 1 tsp paprika
- ½ tsp Italian seasoning
- ¼ tsp cayenne pepper optional, for a little heat
- For Serving Optional:
- Ranch dressing BBQ sauce, honey mustard, or ketchup
- Fresh parsley for garnish
Instructions
- Prep the Oven & Baking Sheet
- Preheat your oven to 400°F (200°C).
- Line a baking sheet with parchment paper or place a wire rack over the sheet for extra crispiness.
- Set Up the Breading Station
- In the first bowl, add flour and half of the seasoning mix.
- In the second bowl, whisk eggs and milk together.
- In the third bowl, combine panko, breadcrumbs, Parmesan cheese, and the remaining seasonings.
- Coat the Chicken Tenders
- Dredge each tender in flour, shaking off excess.
- Dip into the egg mixture, ensuring full coverage.
- Press into the breadcrumb mixture, coating evenly.
- Arrange & Bake
- Place the coated chicken tenders on the prepared baking sheet.
- Lightly spray with cooking oil to help with browning.
- Bake for 18-20 minutes, flipping halfway through, until golden brown.
- Check for doneness—internal temperature should reach 165°F (75°C).
- Serve & Enjoy
- Let the tenders rest for 5 minutes before serving.
- Garnish with fresh parsley and serve with dipping sauces.
Notes
For gluten-free tenders: Use almond flour and gluten-free breadcrumbs.
For dairy-free: Skip Parmesan and use dairy-free milk in the egg wash.
Storage: Keep leftovers in an airtight container in the fridge for 3-4 days.